The graphic side of recovery
As most of you know, I had complications with my incision. The right side felt hot to the touch while still in the hospital. I also felt a hard lump under that side. I mentioned it to doctors and nurses a few times but everyone told me not to worry, that it was most likely scar tissue. We went home without them doing much other than visually checking my incision.
A few days after we came home from the hospital, we realized it wasn’t scar tissue. My incision opened and started to drain in the warm spot with the lump.
The Daddy and I packed up baby and headed to triage. There, the resident stuck a very long cotton swab into my abdomen and swept it side-to-side to make a larger hole. You know what really hurts? Having a fresh incision opened up with a q-tip. The Daddy calmed me down by whispering in my ear and the attending physician held my hand and stroked my arm. Then they pressed on my abdomen to expel the contents of the abscess that had formed underneath my incision. Quite a bit of blood and pus drained out. The spot that had been sore and painful for a week felt better immediately.
Then they delivered the bad news – The Daddy would have to irrigate the wound morning and night, and then using one of the same long cotton swabs, he’d have to pack the hole in my incision with a special gauze tape that looks like a shoelace. This would need to be done until the wound closed. We’d need to irrigate so that infection didn’t pool in the open wound. The packing was to wick out the moisture, for the same reason. With irrigating and packing supplies and a 10-day script for Clindamycin, we were sent on our way.
For about a week, The Daddy did the irrigating and packing. I’m not a very good patient though – I freak out when I feel like I’m not self-sufficient – so I eventually took over. Below the cut is an explanation of the process, and some pictures.
First, the materials:
- Vinyl gloves (I’m allergic to latex)
- 0.9% sodium chloride solution – for irrigating the wound
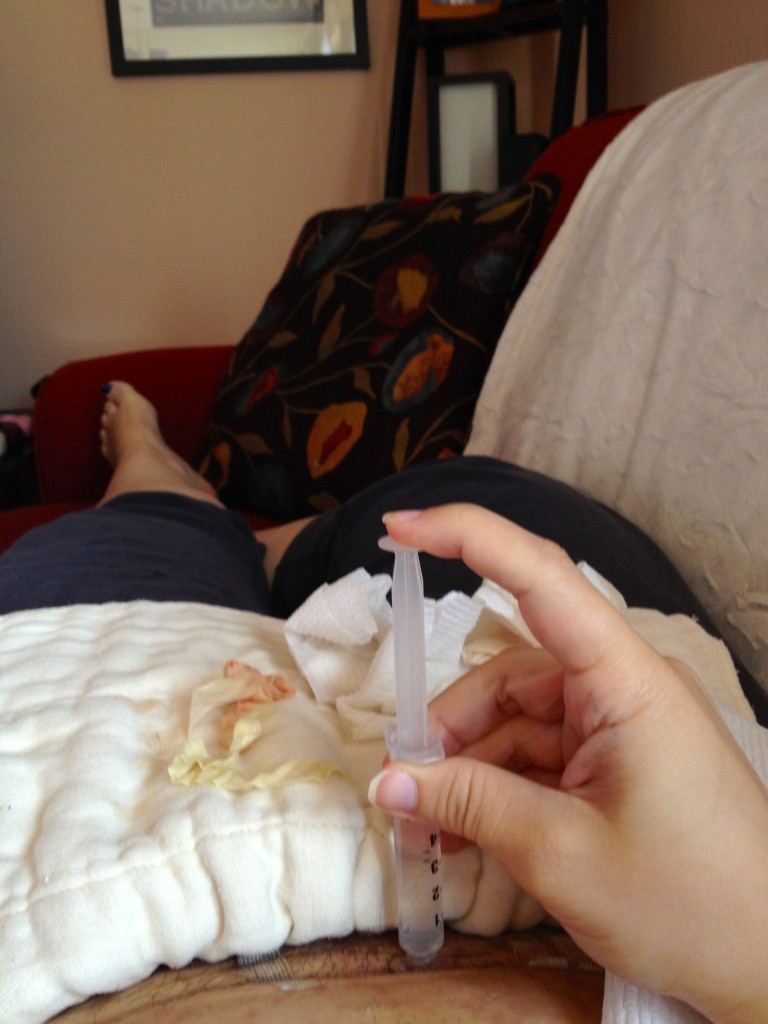
- Syringe – for irrigating
- Tipped applicator – the swab used for packing the wound. It’s like a giant q-tip.
- 1/2″ wide packing tape – for packing the wound
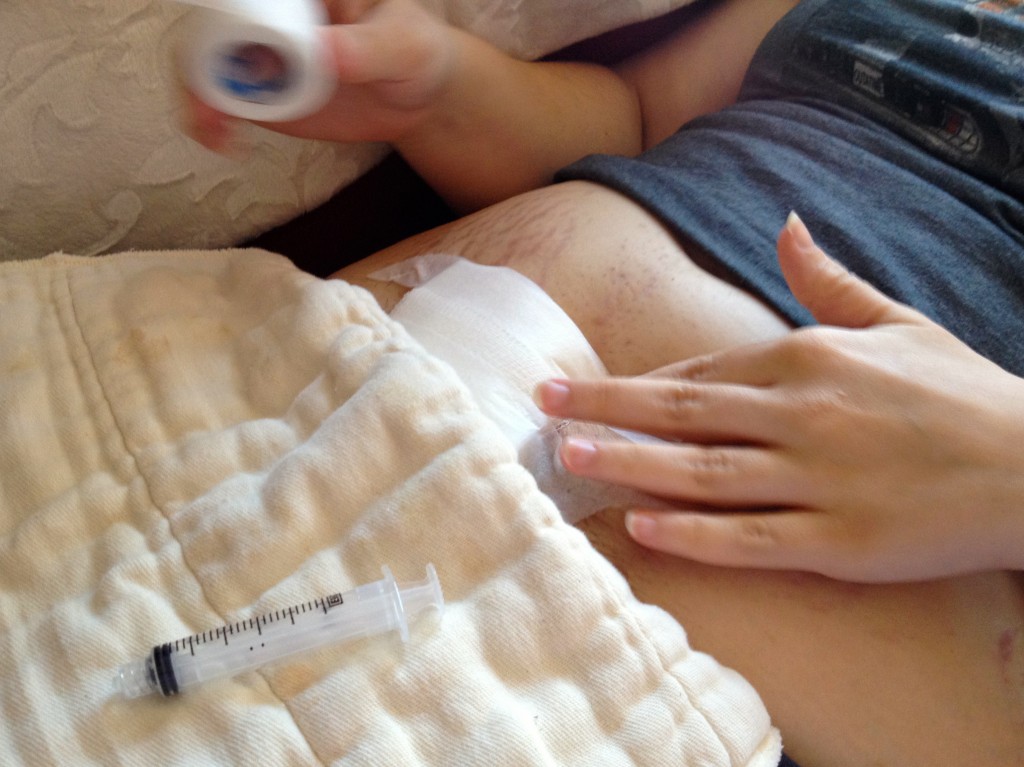
- Gauze pads – for covering the packed wound
- Scissors – for cutting the gauze tape
- Paper towels or clean cloth – for soaking up the blood, pus, and solution as it comes out of the wound
Step one: Lay out all of the materials and put on gloves.
Step two: Pour the solution into a small cup, and fill the syringe from that cup (this’ll keep from getting nasties into the large bottle).
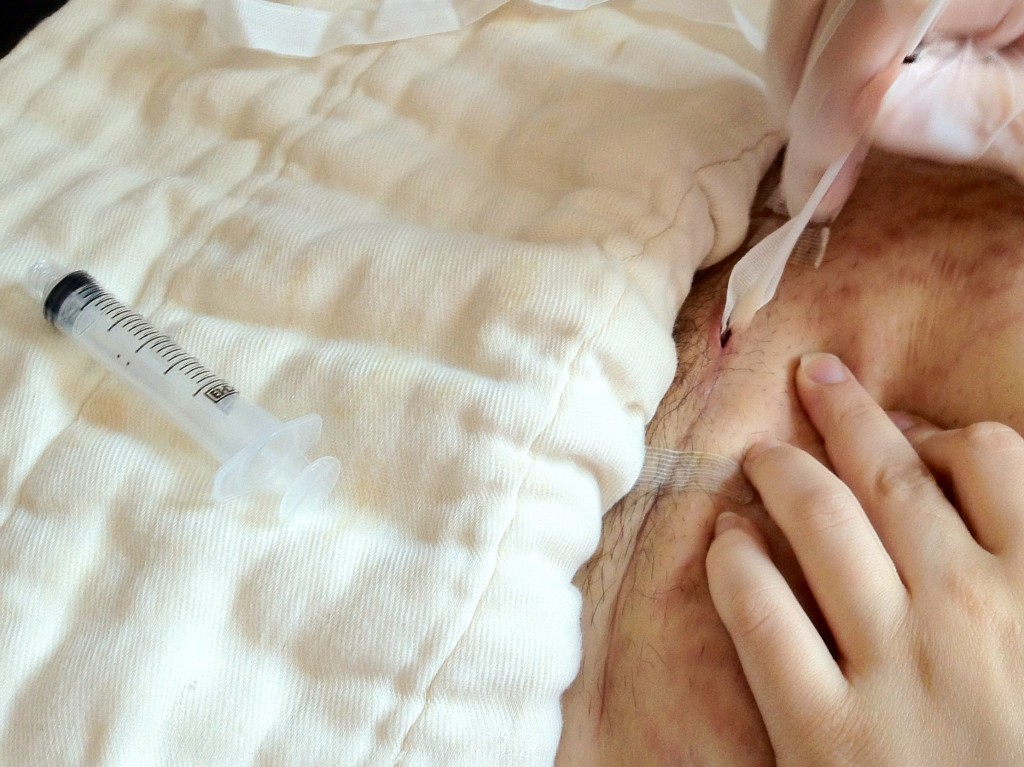
Step three: Insert the tip of the syringe inside of the opening of the wound and press the plunger. This’ll wash out any blood or pus that has pooled in the wound. Repeat this a few times. I found it helpful to press the area around the wound so that more fluid would come out. Have a paper towel or cloth ready!
Step four: Cut a length of the gauze tape. If you’ve removed old tape, you can measure it against that. It should be a little bit shorter every time you pack the wound.
Step five: Wrap the end of the tape around the swab, and insert it into the wound making sure that you get it all the way to the bottom, and in any nook or cranny that may be open on either side. I had a little channel to the left that needed to be filled.
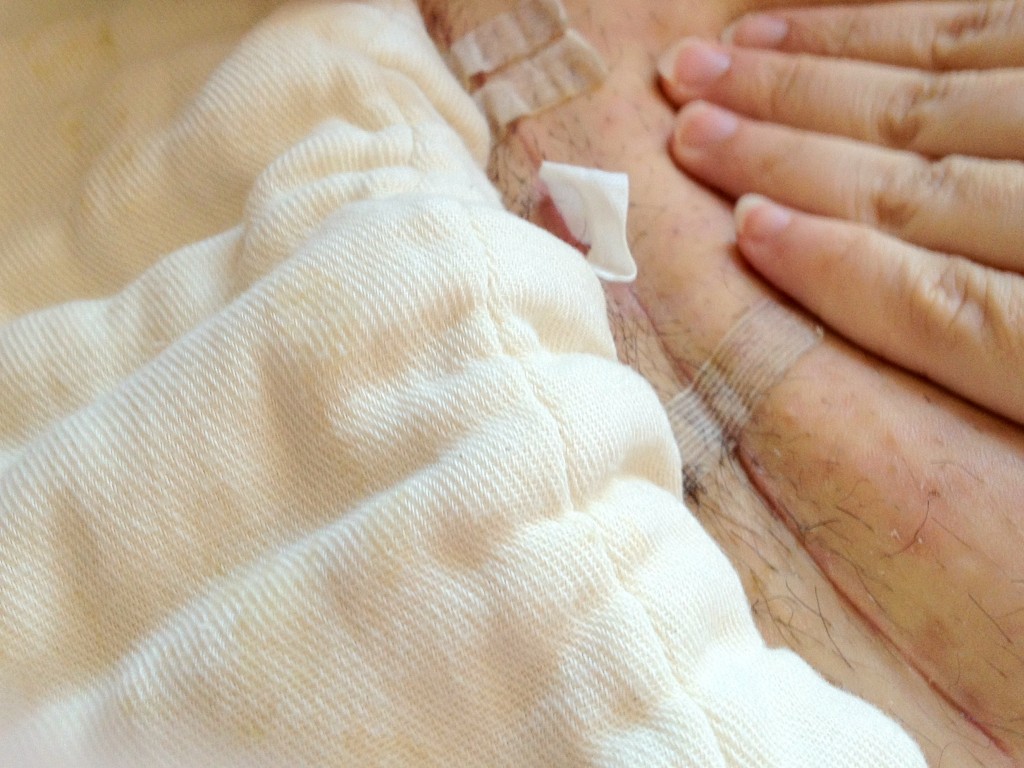
Step six: keep on slowly, gently packing the wound until no more tape will go in. Leave a little tail at the end for easy removal later.

In this picture, you can see a chux pad underneath me. That was there to catch any runoff from irrigation.
Step 7: Cover it up! The gauze strip is going to pull out a whole lot of nastiness. You do not want it seeping out onto your clothes. At home, I used a folded up pre-fold cloth diaper (the offwhite cloth you see in the pictures). When we went out, I either taped a gauze pad over the wound or I put a maxi pad in the front of my underwear going across the length of my incision.
And that’s that. The pictures you see here were taken with my iPhone, by my mom 15 days postpartum. The hole was bigger than it looked there. It was about 10cm deep including the channel to the left, and a few cm wide. Some of my steri-strips came off when they were soaked by the draining fluid. The rest remained on for about another week. As you can see, aside from the open spot, the incision really isn’t that bad. Since then, it has started to fade and is now more pink than purple. I was still pretty puffed up with fluid then and my uterus was still shrinking. Some of that squish is gone now, and the stretch marks are fading. I’ll post incision pictures in the future to show how the healing progresses.


